Eclipse Collage

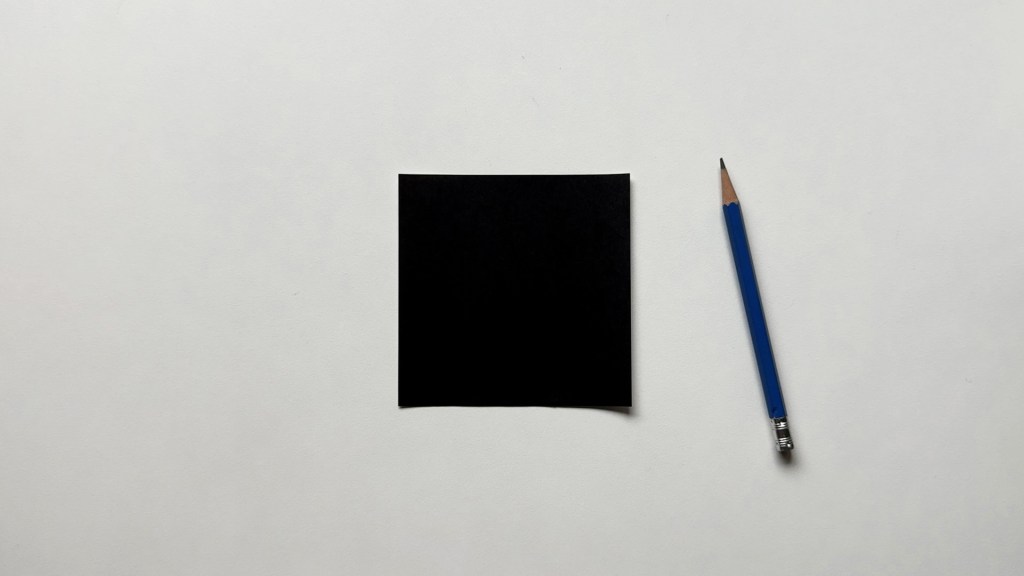
The Supplies You Will Need

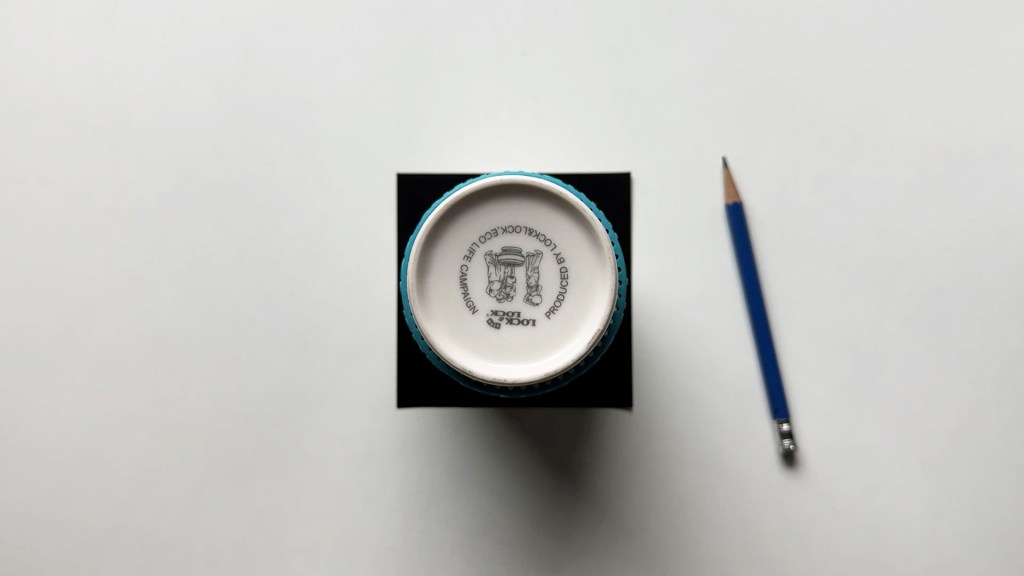
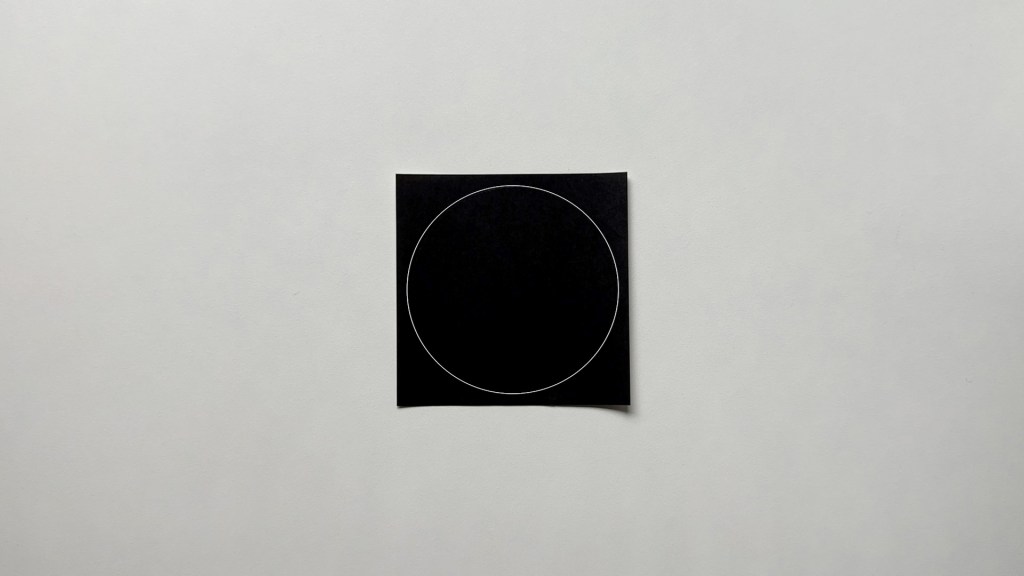
a piece of white paper / some colored paper (Black colored paper is a must) / a pencil / a cup / scissors / a glue stick

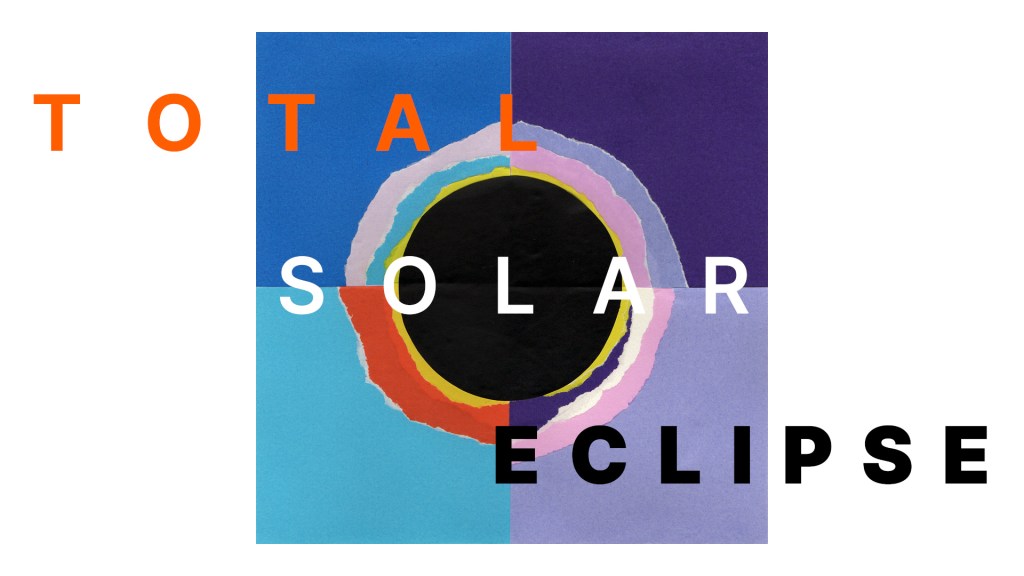
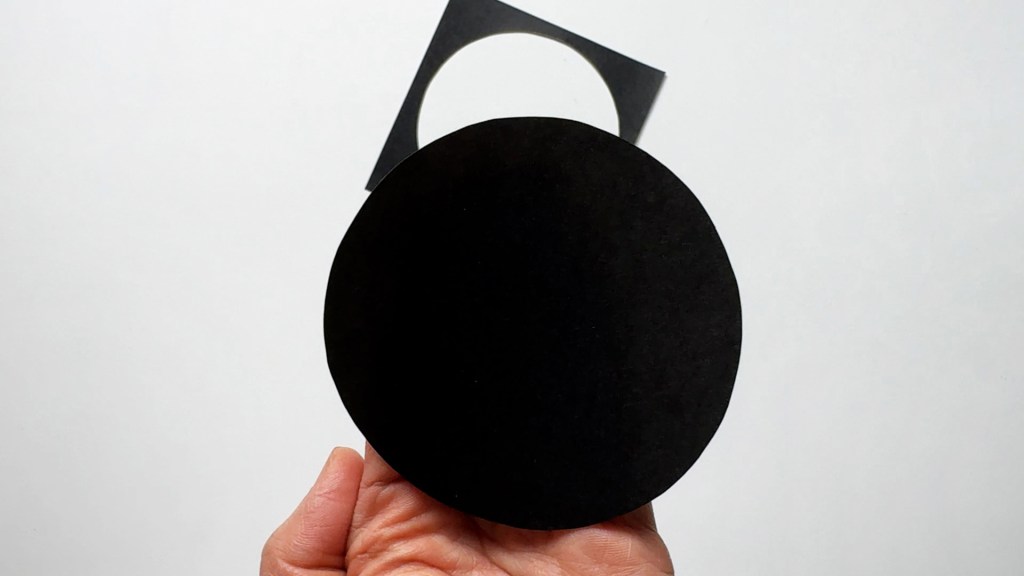
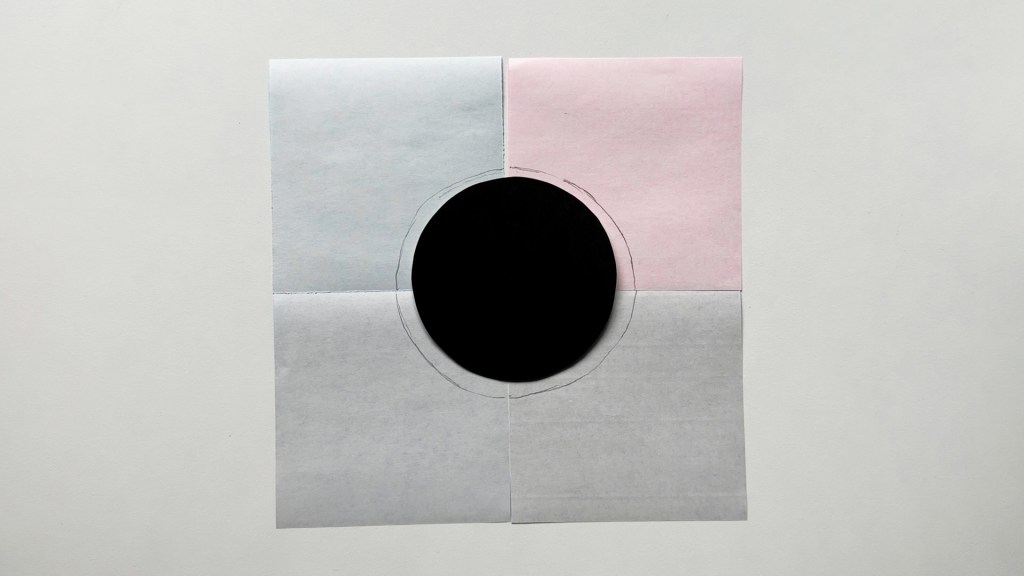
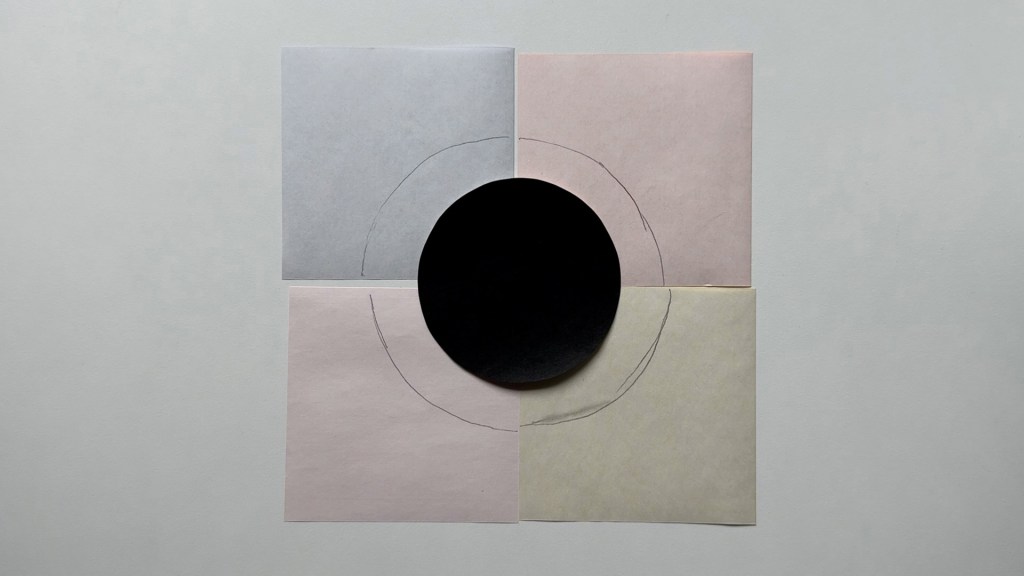
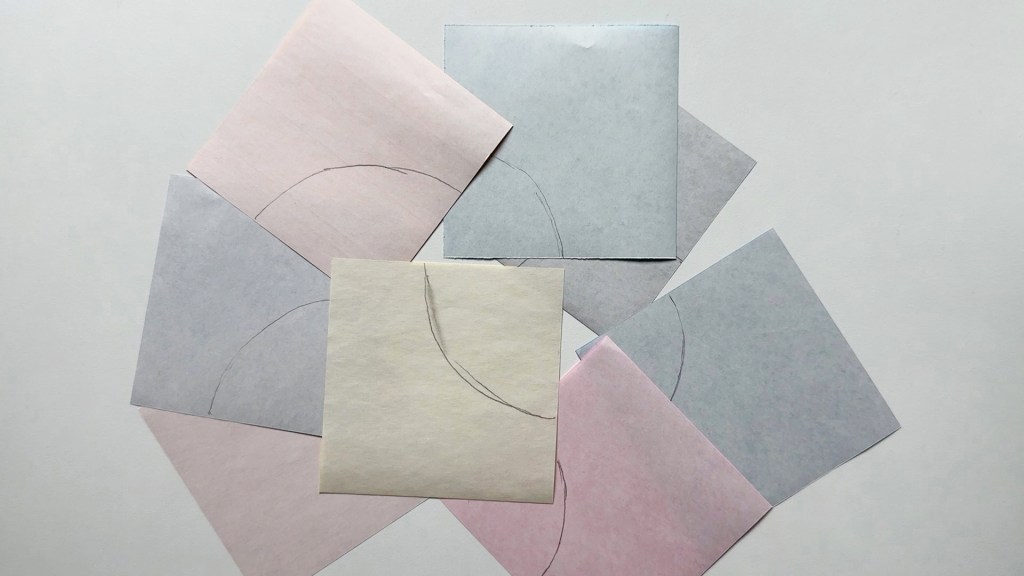
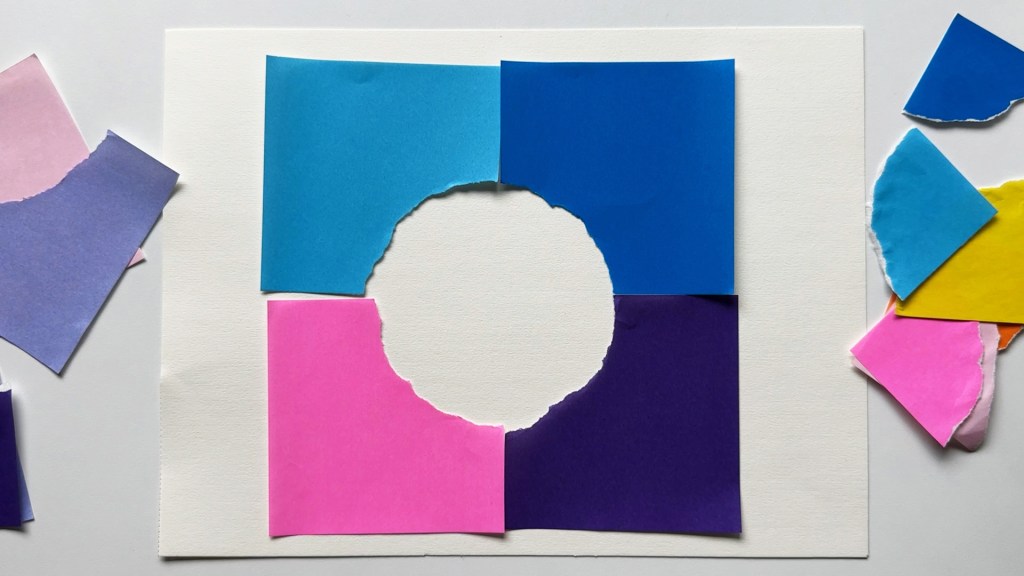
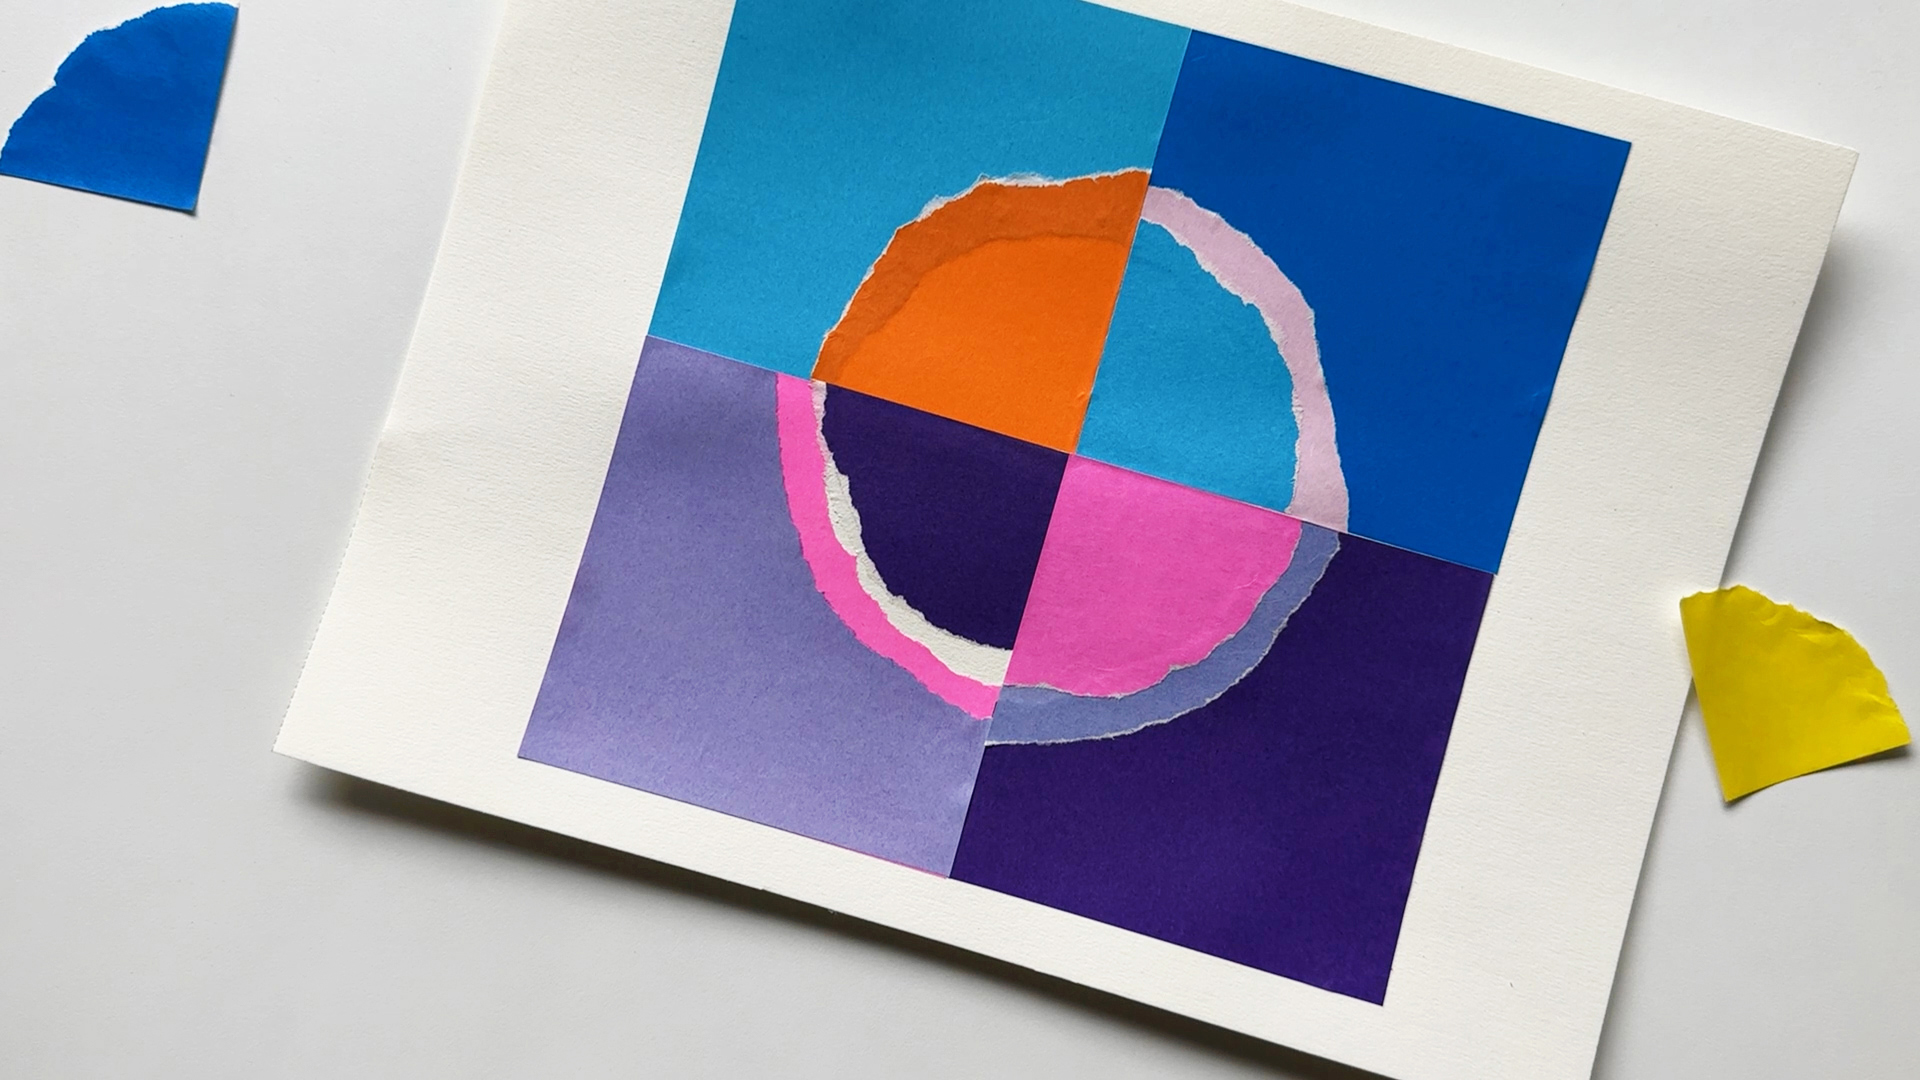
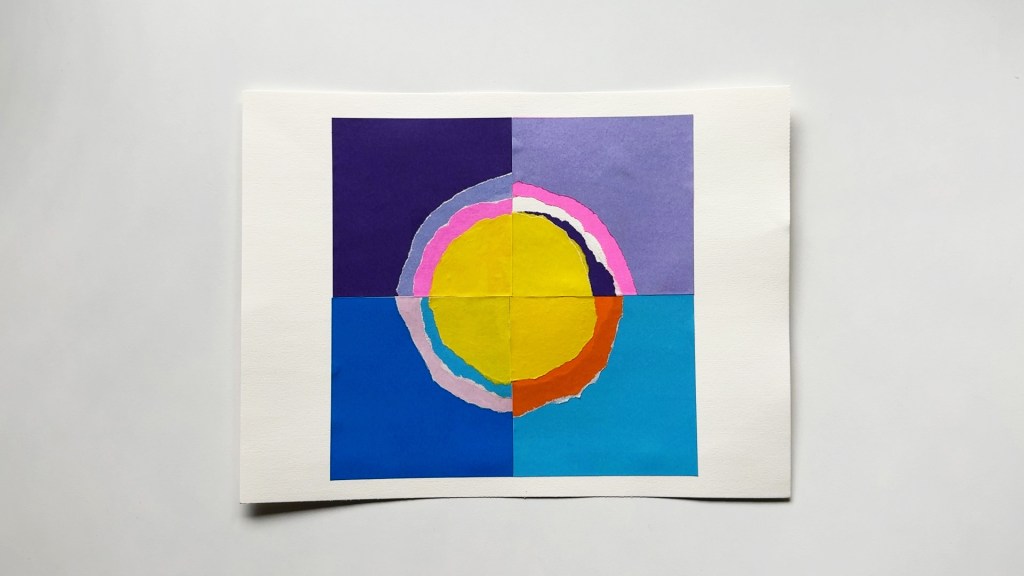
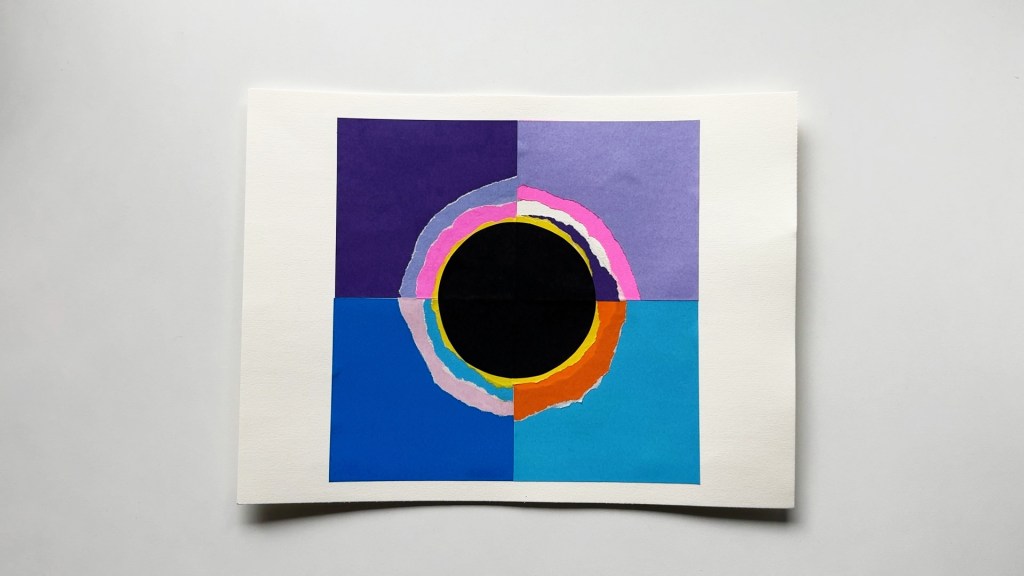
Let’s Make A Total Solar Eclipse With Colored Paper!
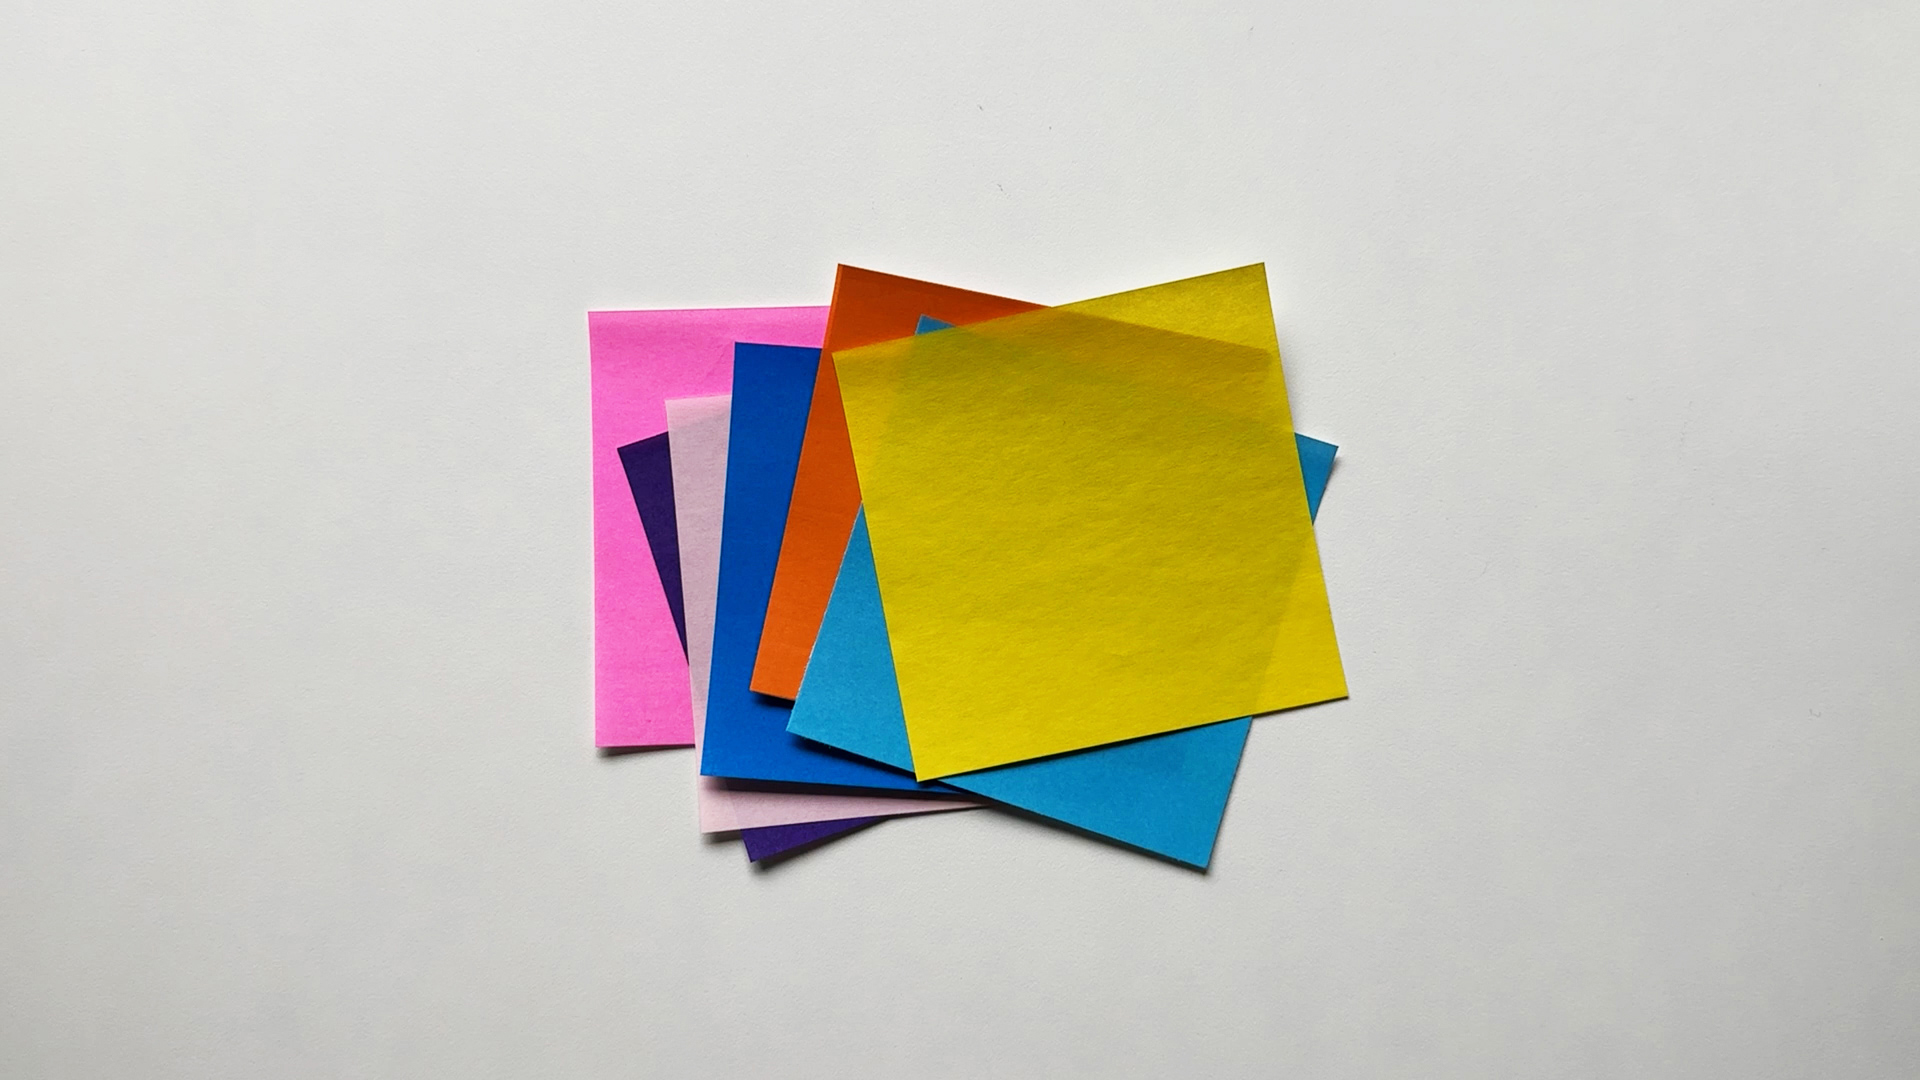
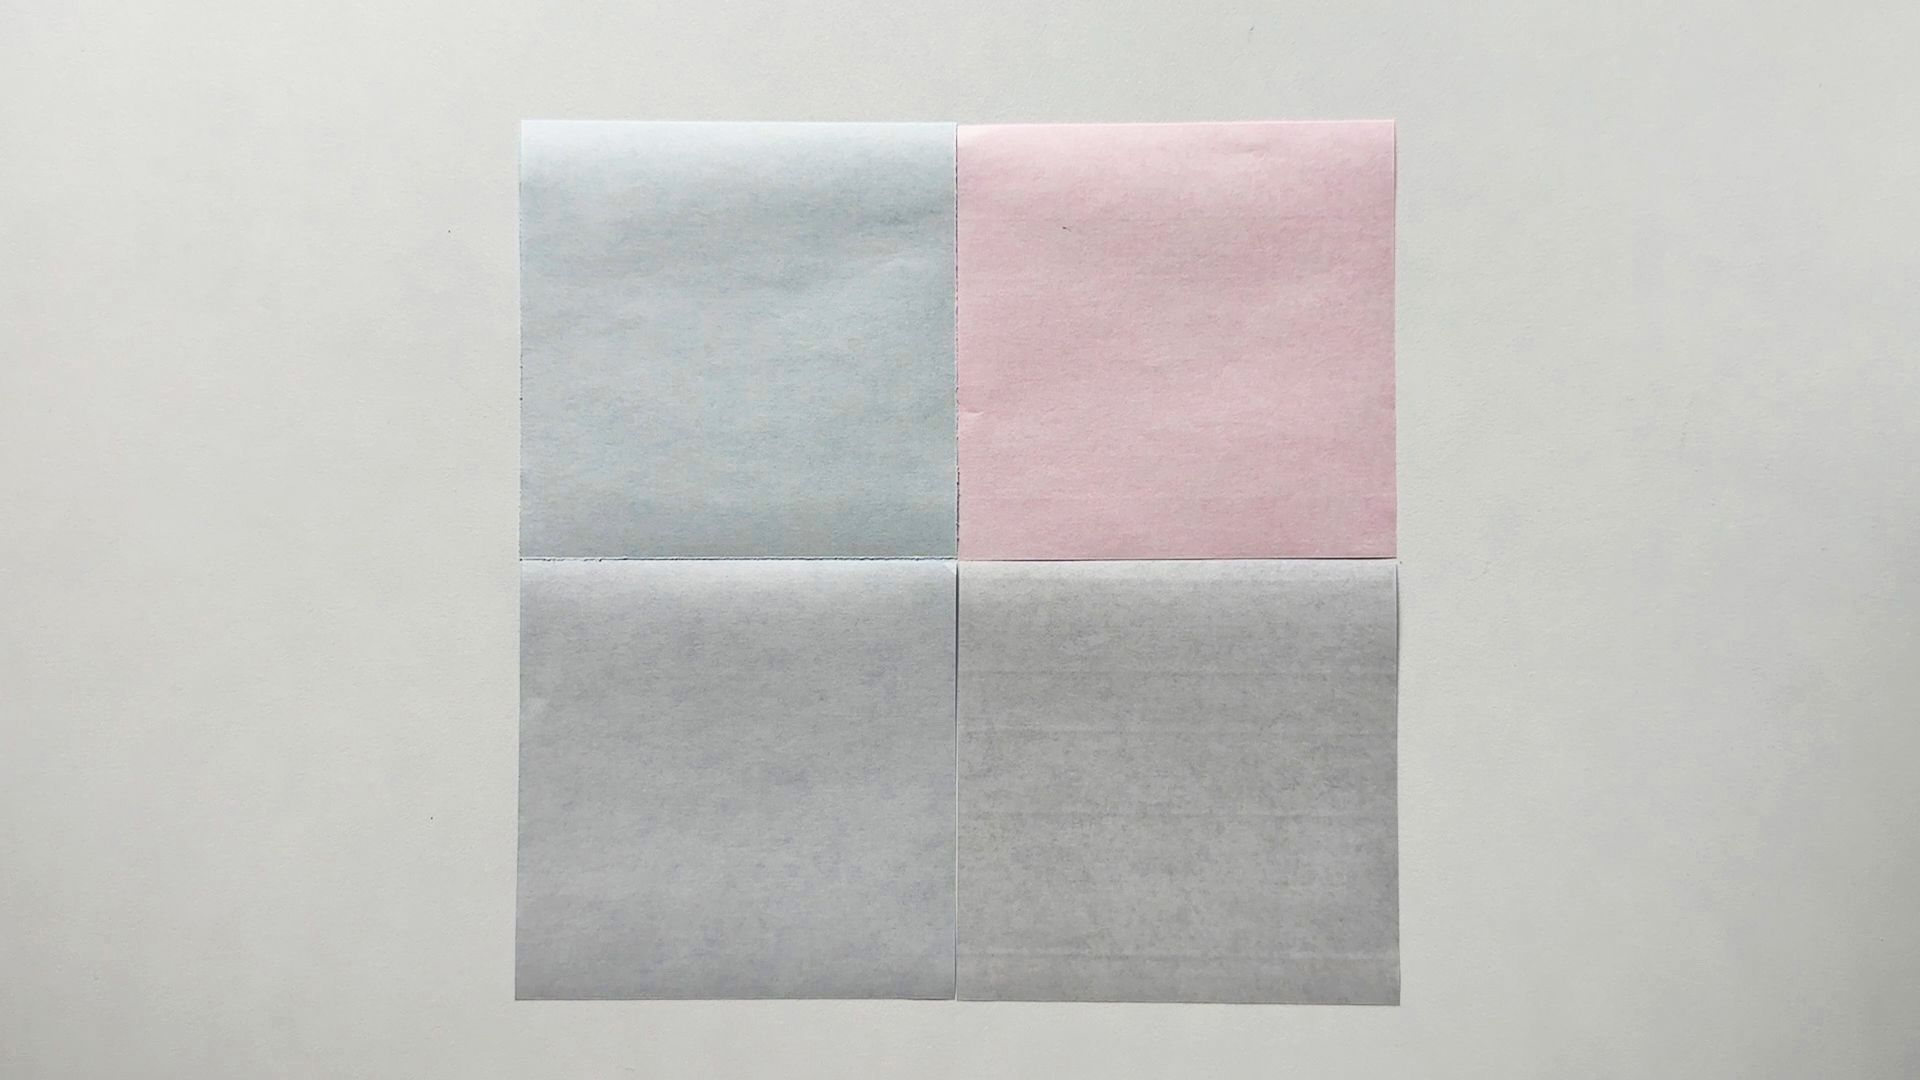
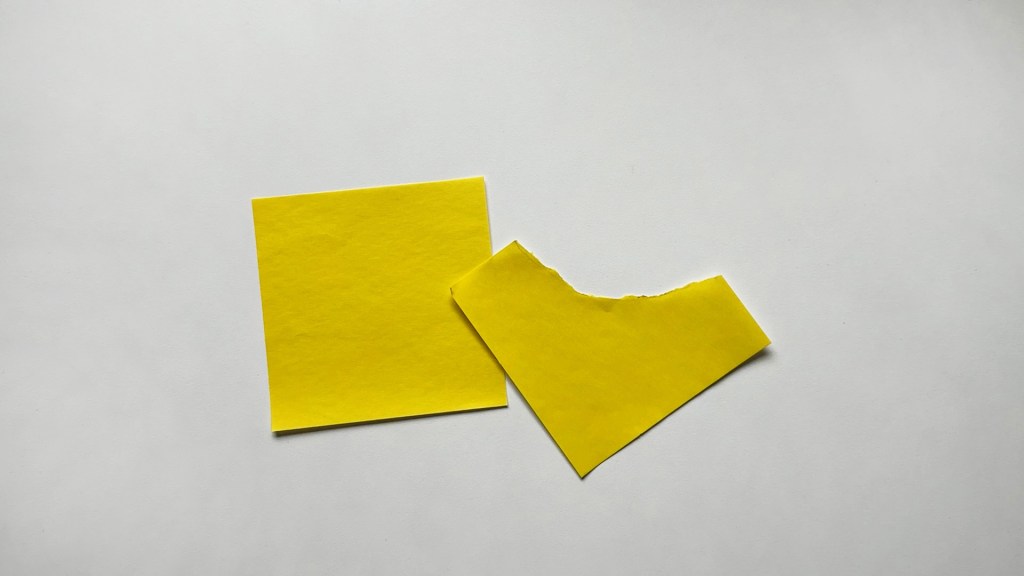
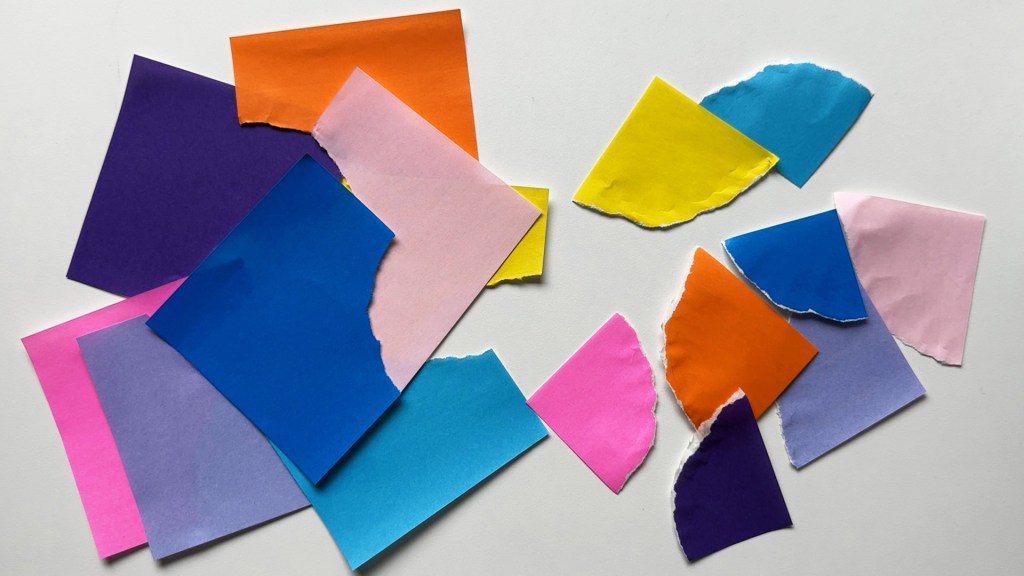
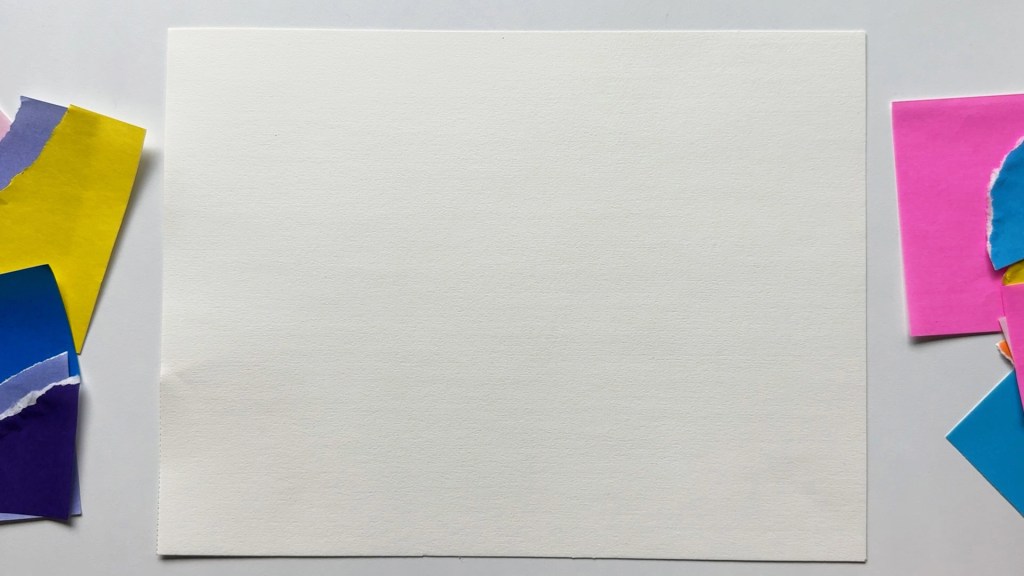
A total solar eclipse happens when the Moon completely covers the face of the Sun. First, let’s make a black circle that you can see when the sun is completely covered by the moon.
Place down the black colored paper and flip an appropriately sized cup over it and draw a circle with a pencil.
Cut a circle along the pencil line with scissors.
Then, flip four pieces of colored paper that you want and place them on the table. With these colors, you can create a colorful spread of light around the black circle. Place the black circle in the middle of the four flipped colored papers. Draw a circle a little bigger than the black circle with a pencil. It doesn’t have to be perfect.
For a more fun effect, place colored paper on the table in the same way. Place the black circle in the middle like before and draw a bigger circle than before.
Think carefully about the color combination so that the small circle around the black circle is made up of brighter and more cheerful colors. For a ring-like effect on the black circle border, I used yellow.
Set the black circle aside and collect all colored papers with pencil lines on them.
And tear the colored papers carefully by hand one by one along the pencil line.
Now we need a piece of white paper and a glue stick.
Place the hand-torn colored papers on the side and fill in the white paper to create the desired color combination.
Create a background for a total solar eclipse by matching various colors.
If you’ve decided on a background combination you like, glue it one by one on the white paper.
Don’t forget to put the brighter and more vivid colors like yellow on top!
Attach the black circle in the middle with a glue stick. Look! We created a total solar eclipse using the collage technique.

Watch The Video Tutorial Here!